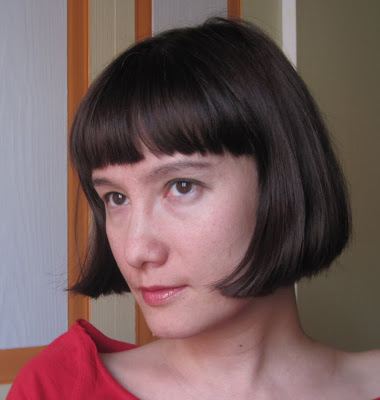
into this
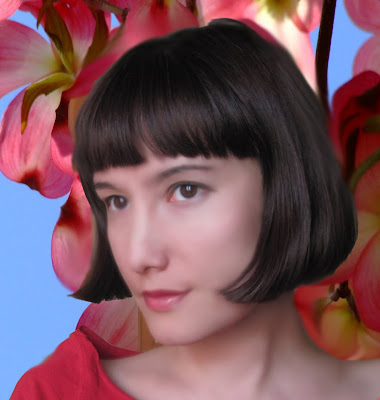
Because it's just creepy.
I will show you how to do more sophisticated, less obvious and just plain better retouching.
Rule number one: do not blur - clone.
It is very difficult to keep the skin look natural and not plastic while blurring it or - even worse - blurring overlaying layers. What you should do is to not cover the whole face, but just small selected areas - pimples, wrinkles, scars, discolorations ets., that may distract and make the face look unpolished. Do not cover freckles. For the covering, we will use the "good" patches of skin. Let me introduce you to this fabulous tool - the clone stamp tool:
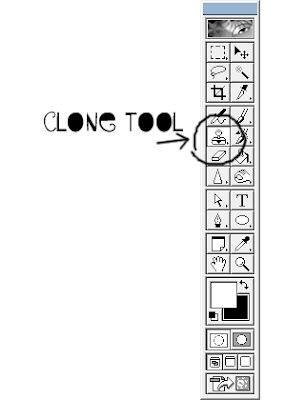
Let's say I want to remove this little scar I have on my lid. I selected the clone tool, then moused over the area very close to the scar, then, holding Alt (notice how the little stamp appeared instead of the standard coursor) I clicked on the "good" area. I letted the Alt go and clicked on the area I wanted to cover - and the "good" patch was cloned over it.
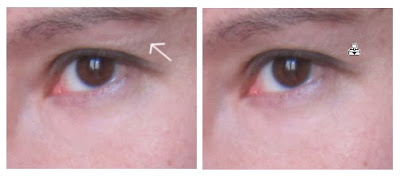
When cloning, set the brush to 80-90% opacity and don't drag it, dab the working area carefully, and remember that Ctrl-Alt-Z undo the change.
You can also use the clone tool to correct the background and remove some unfortunate little artefacts in the picture. For example, I used it to clear out the stray hair and made my haircut really fabulous and sharp (by cloning the background from under the hair line).
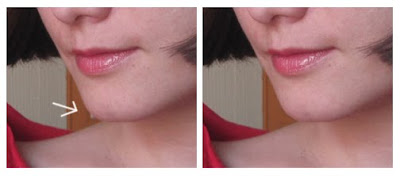
Now look at the top picture: do you see that little thing that looks like a huge pimple on my chin? This is actually a corner of a door panel showing from behind me. One little careful clone dab - and it's gone!
Rule number two: don't smudge - dodge.
There is another one of my favourite tools: the dodge tool
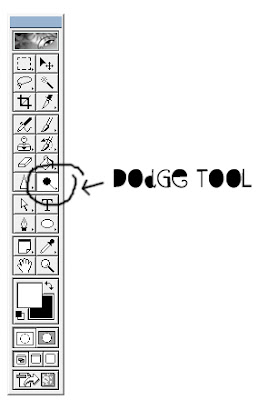
Dodge tool makes the area appear lighter. It's companion, hiding on the same tool button, is Burn tool - it makes area look darker. Two of them do wonders when you need to correct the highligts and shadows on the face. Just be careful and set them to 7-8% and no more.
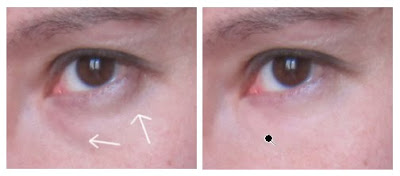
That funny gloss on the tip of the nose you always have - dab it with the burn tool! Dark circles under your eyes - dodge them!
Rule number three: add noise when covering.
If you absolutely need to cover some part of the picture with an additional layer, always add noise from the Noise Filter to make the artificial areas look more natural.
I thought that my complection is a little dull and wanted to add some pink glow on my cheek. I created a new layer and picked a pink color from my cheek with a eyedropper tool. The color I picked was actually quite durty, so I saturated and brightened it.
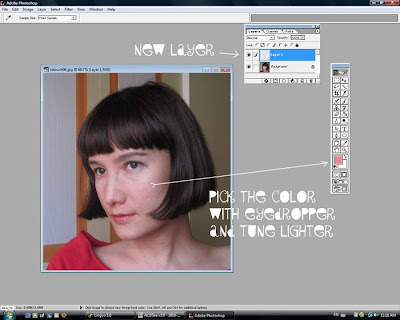
Then I just painted with a soft big brush some area over my cheeks:
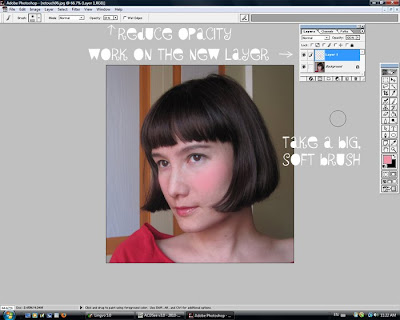
Now, this doesn't look natural, even after I rediced the layer opacity to 10%. So I added noise from the Filter->Noise:
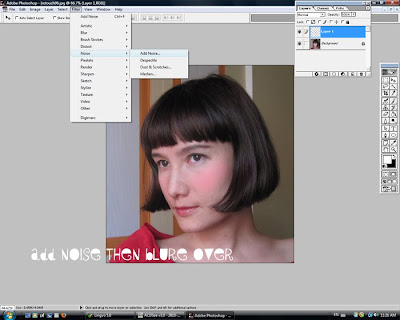
After I merged layers, I zoomed in and saw that the added pink area is very picselated because of the added noise, so I went over it with a blur tool (looks like a teardrop and located on the same tool button as Sharpen and Smudge).
And here is what I have now: ta-daaaa. The picture still looks casual and natural, but all the annoying little imperfections are gone. Hope it helps!
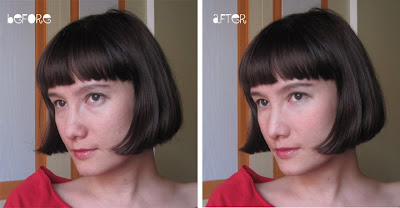

Wonderful! I really love the way you changed the background! You're so pretty with or without Photoshop :)
ReplyDeleteЮльчик, я поняла - тебя надо рисовать! Ты такая красавица!
ReplyDeleteНет некрасивых женщин, есть женщины не умеющие пользоваться фотошопом.
ReplyDelete